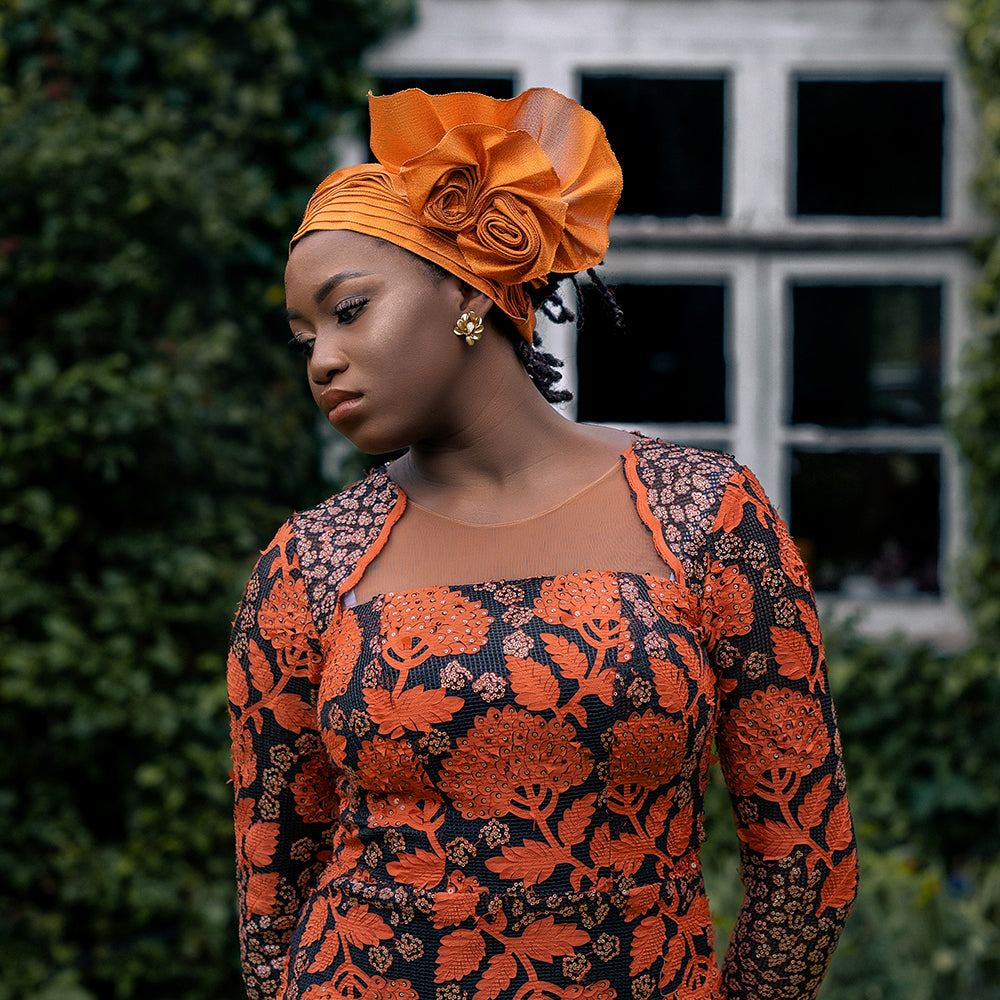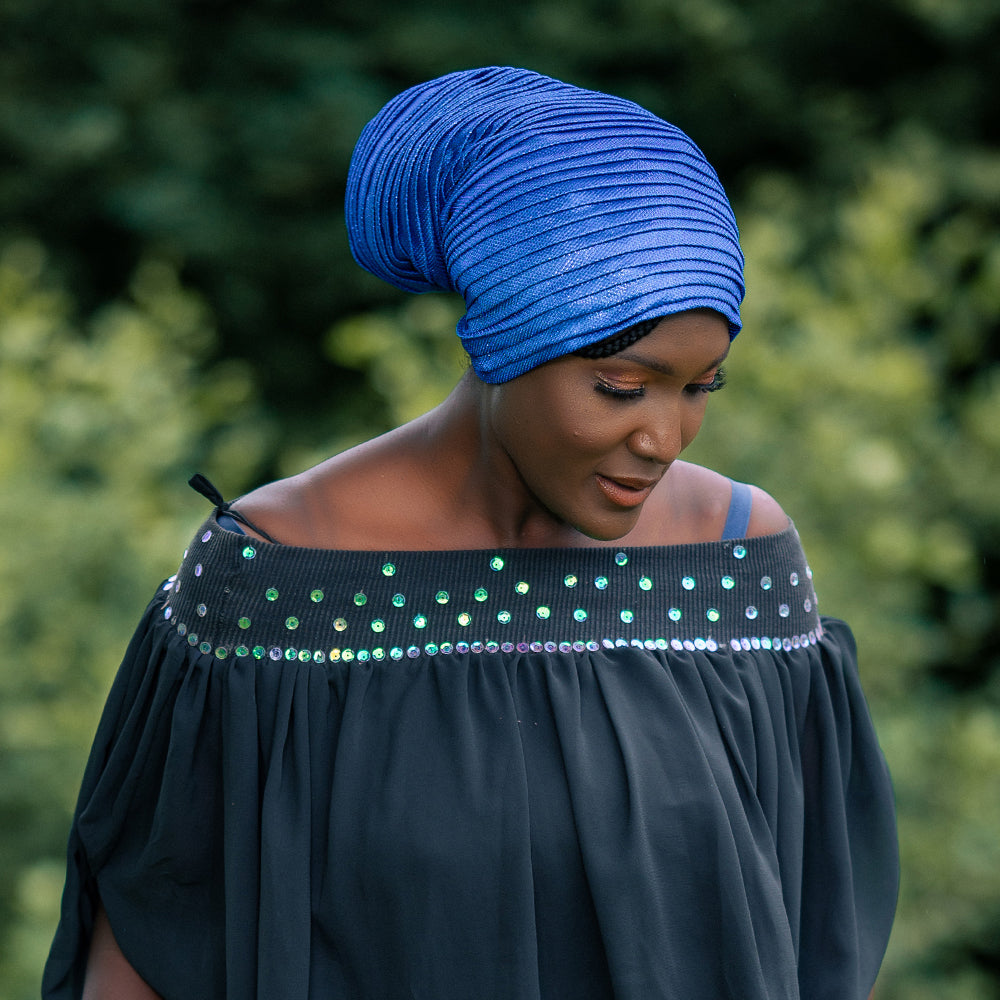

How To Tie Gele
Tying a gele, a traditional African headwrap, requires patience and precision. Here's a step-by-step guide to help you tie a gele:
Materials Needed:
A gele (usually a long piece of vibrant fabric)
Hairpins or bobby pins
Comb or brush for smoothing hair
Steps:
Prepare Your Hair:
Comb or brush your hair to ensure it's smooth and free from tangles. You may choose to tie your hair into a bun or secure it with a hairnet for a neater finish.
Place the Gele on Your Head:
Position the gele on your head, ensuring one end is longer than the other. Allow the longer end to fall to your shoulder or back, depending on the desired length of the gele.
Wrap Around Your Head:
Take the longer end and wrap it around your head, ensuring it covers your hairline. Hold the end firmly with one hand to keep it in place.
Create a Base Knot:
With the shorter end, start creating a base knot at the side of your head. Cross the shorter end over the longer one, forming a basic knot and ensuring it's tight.
Continue Wrapping:
Begin wrapping the shorter end around the base knot in a circular motion. Ensure each wrap is snug and covers the base knot neatly.
Build Height:
Continue wrapping, gradually building height as you move towards the top of your head. The gele should form an upward spiral.
Secure the End:
When you've reached the desired height, tuck the end of the gele securely into the wrapped layers. Use a hairpin or bobby pin to secure it in place.
Adjust and Shape:
Adjust the gele to achieve a symmetrical and aesthetically pleasing shape. Ensure the layers are neat and smooth.
Secure Loose Ends:
If there are any loose ends, use hairpins to secure them discreetly. The gele should feel secure and comfortable on your head.
Final Touch:
Check your reflection to make any final adjustments. Smooth out any wrinkles or uneven layers for a polished look.
With practice, you'll become more adept at tying a gele with ease. Feel free to experiment with different gele styles and have fun expressing your unique flair!